# 二.数据输入(动态渲染)
前言
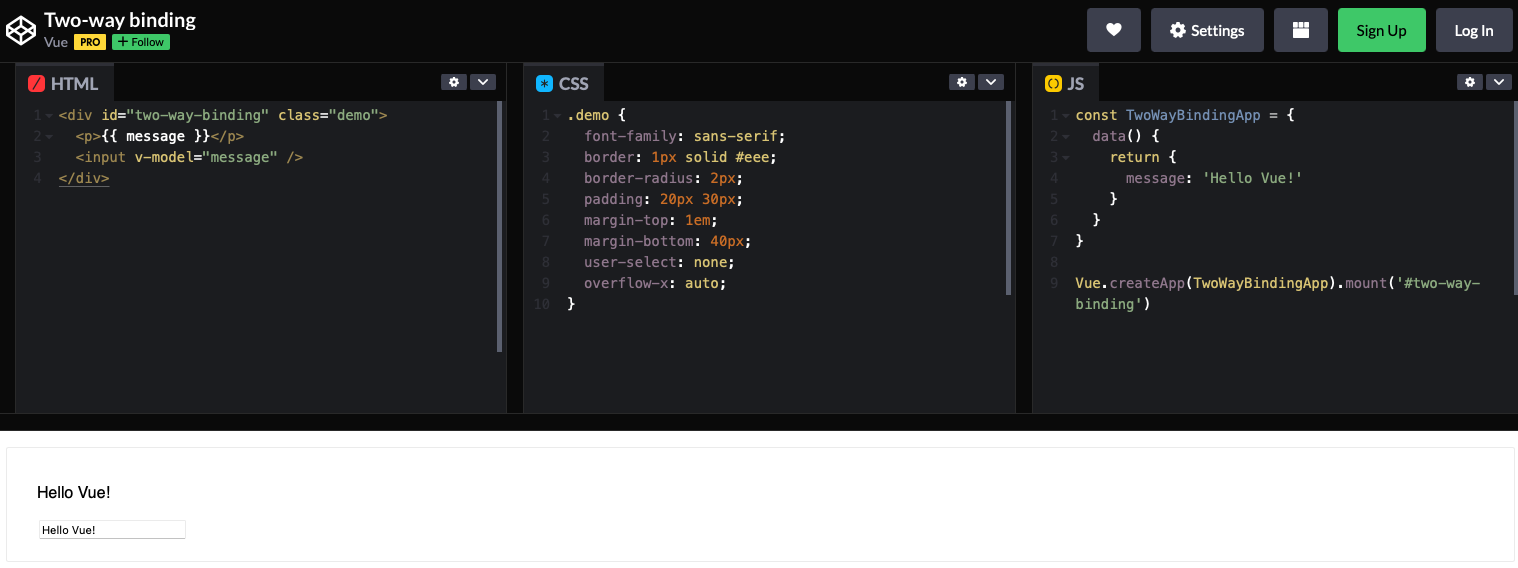
动态渲染组件,在页面组件上修改代码,页面会实时呈现出修改后的效果:

用到的核心技术就是extend和$mount。
# 1.目录结构
├── display
│   ├── checkbox-button.vue
│   ├── checkbox-group.vue
│   ├── checkbox.vue
│   └── index.js
2
3
4
5
# 1.接口设计
- 一个常规的
.vue文件一般都会包含 3 个部分: <template>:组件的模板<script>:组件的选项,不包含el<style>:CSS 样式
回忆一下用extend来构造一个组件的实例,它的选项template其实就是上面<template>的内容,其余选项对应的是<script>,样式<style>事实上与 Vue.js 无关,我们可以先不管。这样的话,当拿到一个.vue 的文件(整体其实是字符串),只需要把<template>、<script>、<style>使用正则分割,把对应的部分传递给 extend 创建示例就可以。
Display 是一个功能型组件,没有交互和事件,只需要一个 prop:code 将.vue 的内容传递过来,其余工作都是在组件内完成的,这对使用者很友好。当然,你也可以设计成三个 props,分别对应 html、js、css,那分割的工作就要使用者来完成。处于使用者优先的原则,苦活累活当然是在组件内完成了,因此推荐第一个方案。
# 2.实现
在src/components目录下创建display目录,并新建display.vue文件,基本结构如下:
<template>
  <div ref="display"></div>
</template>
<script>
export default {
  props: {
    code: {
      type: String,
      default: "",
    },
  },
  data() {
    return {
      html: "",
      js: "",
      css: "",
    }
  },
}
</script>
2
3
4
5
6
7
8
9
10
11
12
13
14
15
16
17
18
19
20
父级传递code后,将其分割,并保存在 data 的 html、js、css 中,后续使用。
我们使用正则,基于<>和</>的特性进行分割:
// display.vue,部分代码省略
<script>
export default {
  methods: {
    getSource(source, type) {
      const regex = new RegExp(`<${type}[^>]*>`)
      let openingTag = source.match(regex)
      if (!openingTag) return ""
      else openingTag = openingTag[0]
      return source.slice(
        source.indexOf(openingTag) + openingTag.length,
        source.lastIndexOf(`</${type}>`)
      )
    },
    splitCode() {
      const script = this.getSource(this.code, "script").replace(
        /export default/,
        "return "
      )
      const style = this.getSource(this.code, "style")
      const template =
        '<div id="app">' + this.getSource(this.code, "template") + "</div>"
    },
  },
}
</script>
2
3
4
5
6
7
8
9
10
11
12
13
14
15
16
17
18
19
20
21
22
23
24
25
26
getSource 方法接受两个参数:
- source:vue 文件代码,即 props:code
- type:分割的部分,也就是 template、script、style
分割后,返回的内容不再包含<template>等标签,直接是对应的内容,在 splitCode 方法中,把分割好的代码分别赋值给 data 中声明的 html、js、css。有两个细节需要注意:
1.vue 的<script>部分一般都是以export default开始的,可以看到在 splitCode 方法中将它替换为return,这个在后文会做解释,当前只要注意,我们分割完的代码,任然是字符串;
2.在分割的<tempalte>外层套了一个<div id="app">,这是为了容错,有时使用者传递的code可能会忘记在外层包一个节点,没有根节点的组件,是会报错的。
准备好这些基础工作后,就可以用extend渲染组件了,在这之前,我们先思考一个问题:上文说到,当前的this.js是字符串,而 extend 接收的选项可不是字符串,而是一个对象类型,那就要先把 this.js 转为一个对象。
先看一个例子:
const sum = new Function("a", "b", "return a+b")
console.log(sum(2, 6))
2
可以用 new Function 来构造我们的组件:
// display.vue 部分代码省略
<template>
  <div ref="display"></div>
</template>
<script>
import Vue from "vue"

export default {
  data() {
    return {
      component: null,
    }
  },
  methods: {
    renderCode() {
      this.splitCode()

      if (this.html !== "" && this.js !== "") {
        const parseStrToFunc = new Function(this.js)()
        parseStrToFunc.template = this.html
        const Component = Vue.extend(parseStrToFunc)
        this.component = new Component().$mount()
        this.$refs.display.appendChild(this.component.$el)
      }
    },
  },
}
</script>
2
3
4
5
6
7
8
9
10
11
12
13
14
15
16
17
18
19
20
21
22
23
24
25
26
27
28
extend 构造的实例通过$mount 渲染后,挂载到了组件唯一一个节点<div ref = "display">上。现在 html 和 js 都有了,还剩下 css。创建一个<style>标签,然后把 css 写进去,再插入到页面的<head>中,这样 css 就被浏览器解析了。为了方便在this.code变化或组件销毁时移除动态创建的<style>标签,我们给每个style标签加一个随机 id 用于标识。
在src/utils目录下新建random_str.js文件,并写入以下内容:
// 生成随机字符串
export default function (len = 32) {
  const $chars = `abcdefghijklmnopqrstuvwxyzABCDEFGHIJKLMNOPQRSTUVWXYZ1234567890`
  const maxPos = $chars.length
  let str = ""
  for (let i = 0; i < len; i++) {
    str += $chars.charAt(Math.floor(Math.random() * maxPos))
  }
  return str
}
2
3
4
5
6
7
8
9
10
不难理解,这个方法是从指定的字符串中随机生成 32 位的字符串。
补全 renderCode 方法:
// display.vue
<script>
import randomStr from "../../utils/random_str.js"

export default {
  data() {
    return {
      id: randomStr(),
    }
  },
  methods: {
    renderCode() {
      if (this.html !== "" && this.js !== "") {
        // ...
        if (this.css !== "") {
          const style = document.createElement("style")
          style.type = "text/css"
          style.id = this.id
          style.innerHTML = this.css
          document.getElementsByTagName("head")[0].appendChild(style)
        }
      }
    },
  },
}
</script>
2
3
4
5
6
7
8
9
10
11
12
13
14
15
16
17
18
19
20
21
22
23
24
25
26
当 Display 组件销毁时,也要手动销毁 extend 创建的实例以及上面的 css:
// display.vue
<script>
export default {
  methods: {
    destoryCode() {
      const $target = document.getElementById(this.id)
      if ($target) $target.parentNode.removeChild($target)
      if (this.component) {
        this.$refs.display.removeChild(this.component.$el)
        this.component.$destory()
        this.component = null
      }
    },
  },
  beforeDestory() {
    this.destoryCode()
  },
}
</script>
2
3
4
5
6
7
8
9
10
11
12
13
14
15
16
17
18
19
当this.code更新时,整个过程要重新来一次,所以要对code进行 watch 监听。
<script>
export default {
  watch: {
    code() {
      this.destoryCode()
      this.renderCode()
    },
  },
}
</script>
2
3
4
5
6
7
8
9
10
# 3.使用
新建一条路由,并在src/views下新建页面display.vue来使用 Display 组件;
<template>
  <div>
    <h3>动态渲染 .vue 文件的组件-- Display</h3>
    <i-display :code="code"></i-display>
  </div>
</template>
<script>
import iDisplay from "../components/display/display.vue"

export default {
  components: {
    iDisplay,
  },
  data() {
    return {
      code: `
        <template>
          <div>
            <input v-model="message">
            {{message}}
          </div>
        </template>
        <script>
          export default {
            data (){
              return {
                message: ''
              }
            }
          }
        </script>
        `,
    }
  },
}
</script>
2
3
4
5
6
7
8
9
10
11
12
13
14
15
16
17
18
19
20
21
22
23
24
25
26
27
28
29
30
31
32
33
34
35
36
# 2.组件封装
- 源代码
<template>
  <div ref="display"></div>
</template>

<script>
import Vue from "vue";
import randomStr from "./random_str.js";
export default {
  name: "VueDisplay",
  props: {
    code: {
      type: String,
      default: "",
    },
  },
  data() {
    return {
      html: "",
      js: "",
      css: "",
      component: null,
      id: randomStr(),
    };
  },
  methods: {
    destoryCode() {
      const $target = document.getElementById(this.id);
      if ($target) $target.parentNode.removeChild($target);
      if (this.component) {
        this.$refs.display.removeChild(this.component.$el);
        this.component.$destory();
        this.component = null;
      }
    },
    renderCode() {
      this.splitCode();

      if (this.html !== "" && this.js !== "") {
        const parseStrToFunc = new Function(this.js)();
        parseStrToFunc.template = this.html;
        const Component = Vue.extend(parseStrToFunc);
        this.component = new Component().$mount();
        this.$refs.display.appendChild(this.component.$el);
        if (this.css !== "") {
          const style = document.createElement("style");
          style.type = "text/css";
          style.id = this.id;
          style.innerHTML = this.css;
          document.getElementsByTagName("head")[0].appendChild(style);
        }
      }
    },
    getSource(source, type) {
      const regex = new RegExp(`<${type}[^>]*>`);
      let openingTag = source.match(regex);
      if (!openingTag) return "";
      else openingTag = openingTag[0];
      return source.slice(
        source.indexOf(openingTag) + openingTag.length,
        source.lastIndexOf(`</${type}>`)
      );
    },
    splitCode() {
      const script = this.getSource(this.code, "script").replace(
        /export default/,
        "return "
      );
      const style = this.getSource(this.code, "style");
      const template =
        '<div id="app">' + this.getSource(this.code, "template") + "</div>";
    },
  },
  beforeDestory() {
    this.destoryCode();
  },
  watch: {
    code() {
      this.destoryCode();
      this.renderCode();
    },
  },
};
</script>2
3
4
5
6
7
8
9
10
11
12
13
14
15
16
17
18
19
20
21
22
23
24
25
26
27
28
29
30
31
32
33
34
35
36
37
38
39
40
41
42
43
44
45
46
47
48
49
50
51
52
53
54
55
56
57
58
59
60
61
62
63
64
65
66
67
68
69
70
71
72
73
74
75
76
77
78
79
80
81
82
如果使用 Vue CLI 3 默认的配置,直接运行时,会抛出错误。这是因为它使用了 vue.runtime.js,它不允许编译 template 模板,因为我们在 Vue.extend 构造实例时,用了template选项,所以会报错。解决方案有两种,一是手动将 template 改写为 Render 函数,另外一种是对 Vue CLI 3 创建的工程做简单的配置。
module.exports = {
  runtimeCompiler: true,
}
2
3
他的作用是,是否使用包含运行时编译器的 Vue 构建版本。设置为true后就可以在 Vue 组件中使用template选项了,但是应用汇额外增加 10kb.
总结
通过对前端组件的分析,需要重点关注组件中易变性对组件封装的影响,它会对组件的可复用性、可扩展性产生很大影响